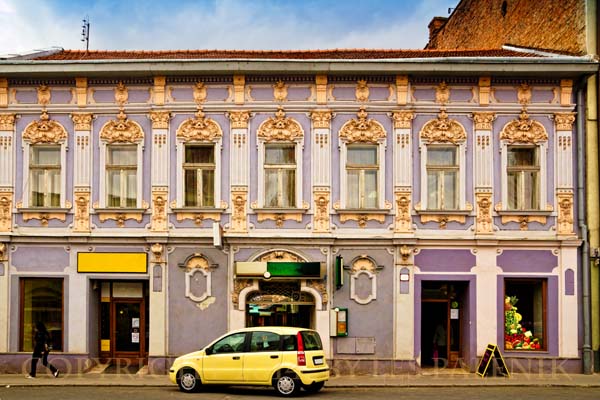
Topaz Labs has just released a brand new “painting” program, called Impression.
Impression will run both as a standalone program and also as a plugin. In their promotional piece, Topaz Labs emphasizes the power and flexibility of the program that can yield up to 7 billion variations for any pictures. I don’t know how they arrived at this number, but after browsing through the 47 presets/filters and numerous sliders/customization options, the number of possible variations seems indeed mind-boggling.
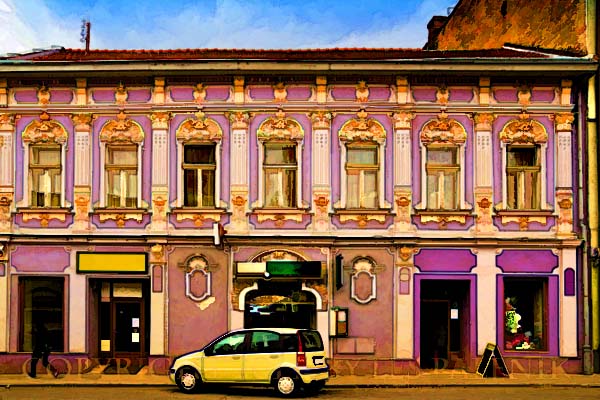
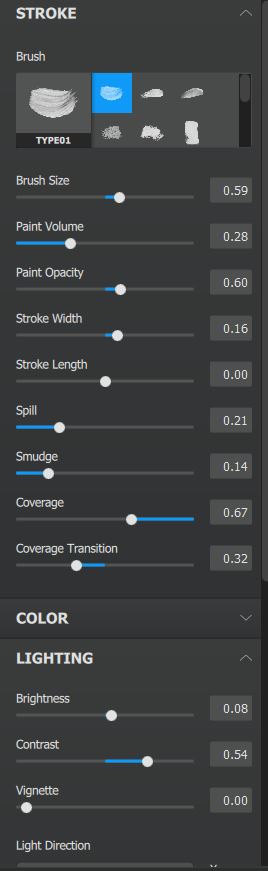
The selection of one of the available presets is simple and easy, but it is just a starting point. After choosing certain painting style, you can vary the brush size, stroke width and length, opacity, color saturation, contrast, blending mode, and more. And if that is not enough, you could even combine multiple styles.
According to Topaz: No prior knowledge of art is required – all you need is a photo and an unbounded imagination!
When you start the Impression program in the standalone mode, it will present a simple small window where you can browse your images and select one. The program loads very quickly the source image, displays it on the screen, and then it takes a few seconds to initialize its workspace. Then it will show the following screen with the first of the available presets which happens to be an Abstract style. All available presets are shown alphabetically in the right panel.
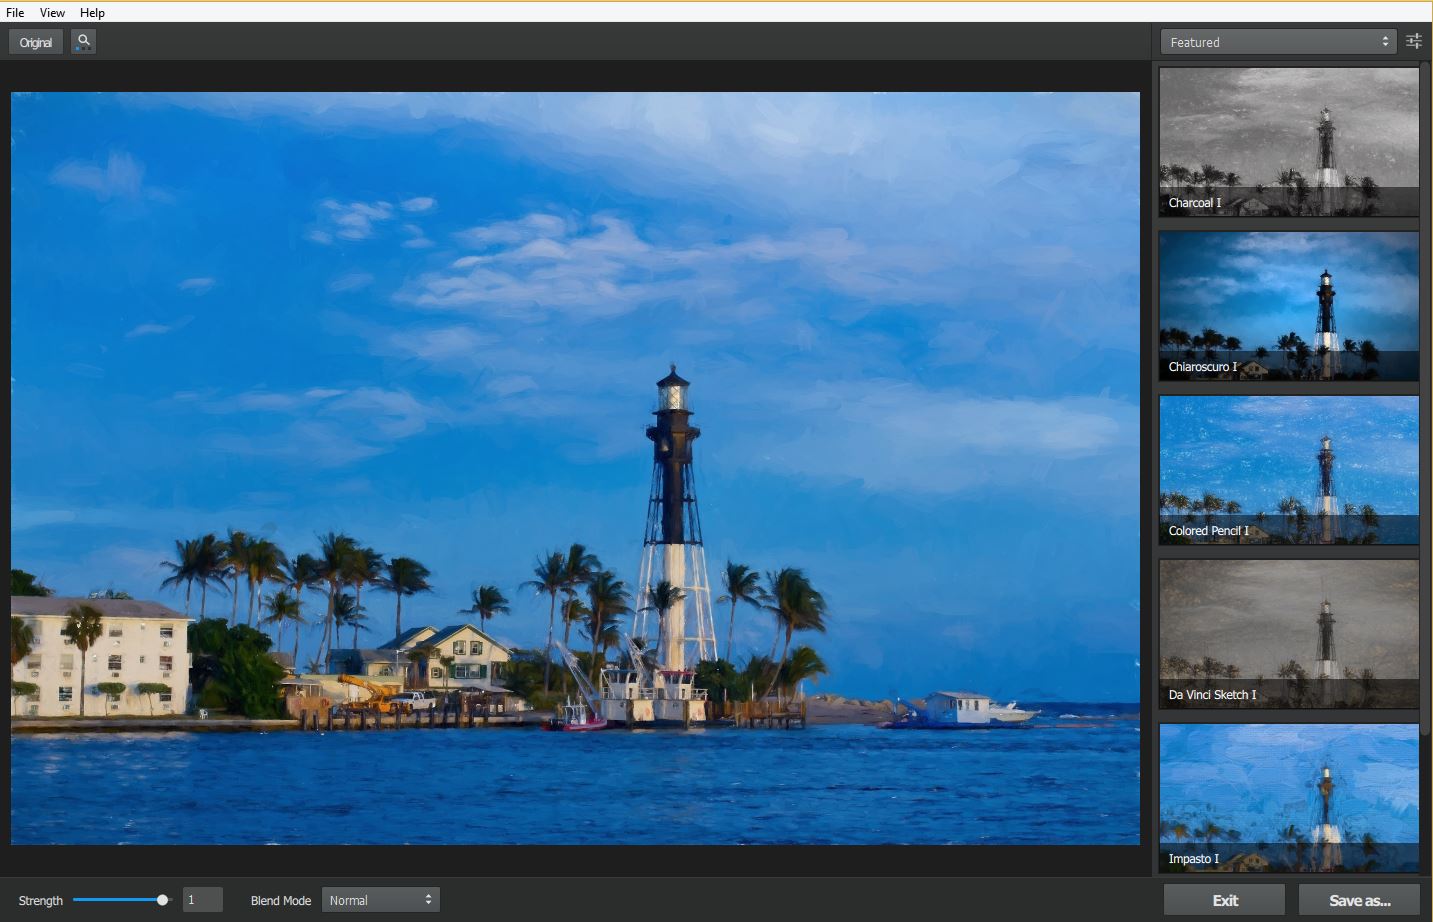
You can quickly review all “looks” in the right panel and choose something you like. Once you pick a desired preset, the right panel will display the customization sliders.
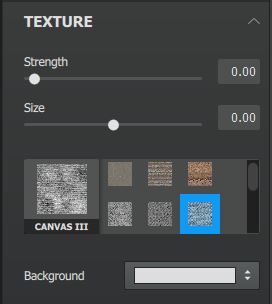
You can also select a canvas type and background texture.
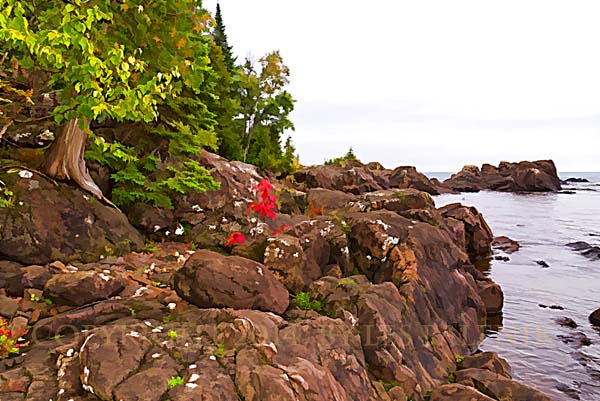
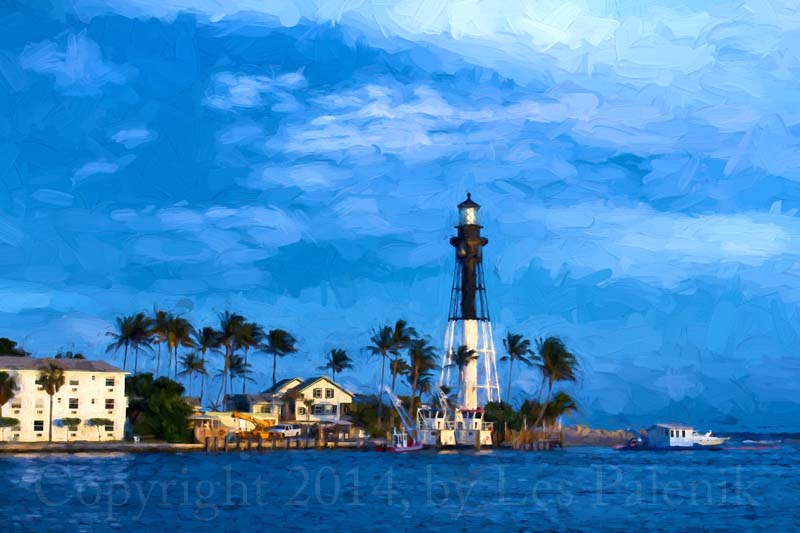
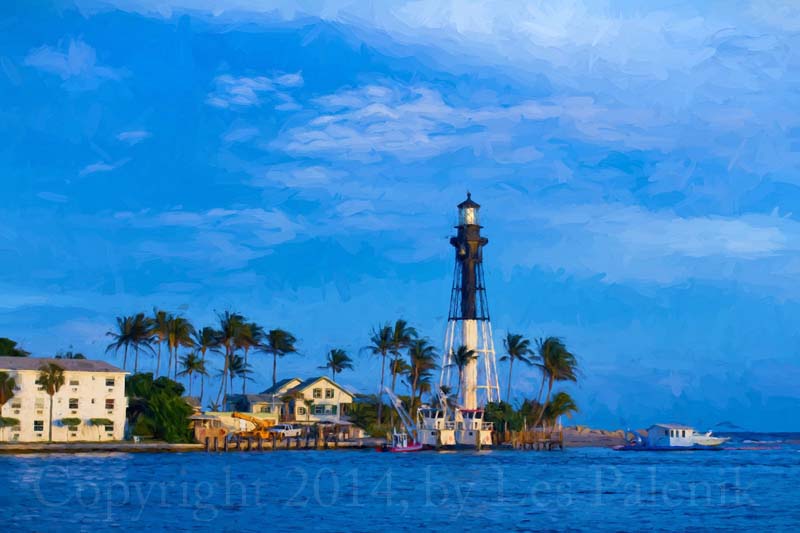
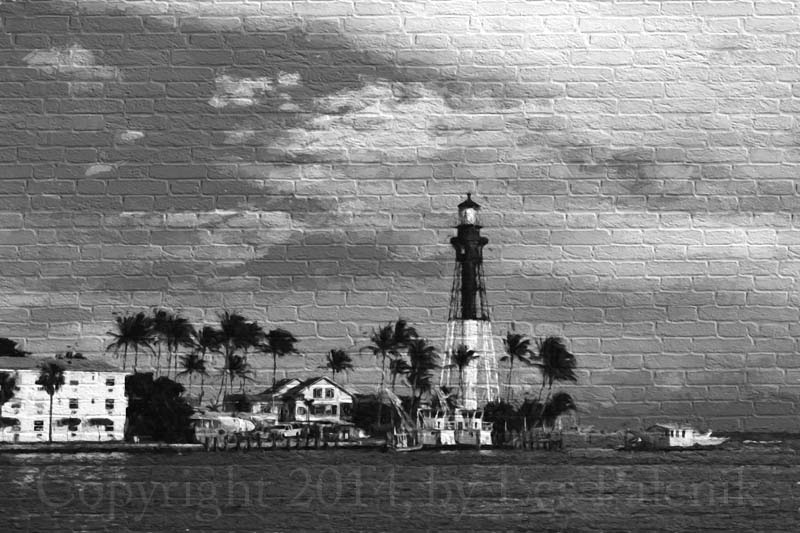
The following section shows some of the styles which I applied to my Hillsboro Inlet Lighthouse image.

Monet
Cezanne
van Gogh

Oil Painting
Pointilization
Chiaroscuro
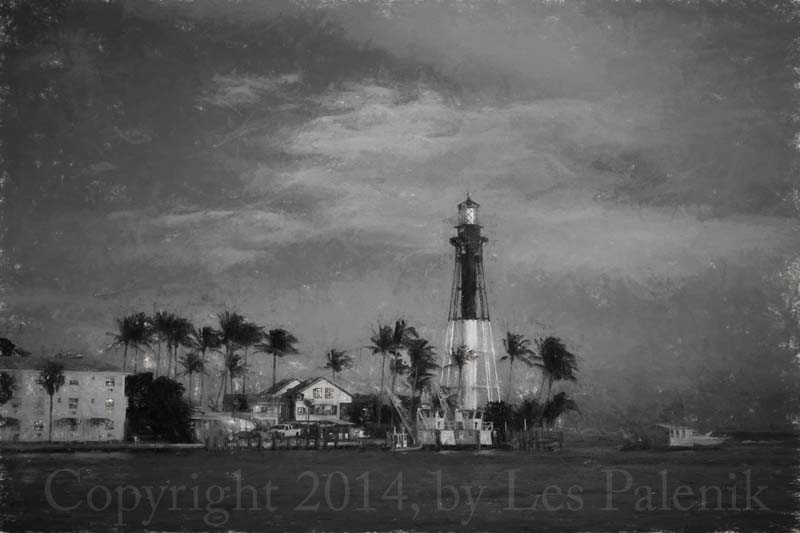
Charcoal
Urban #1
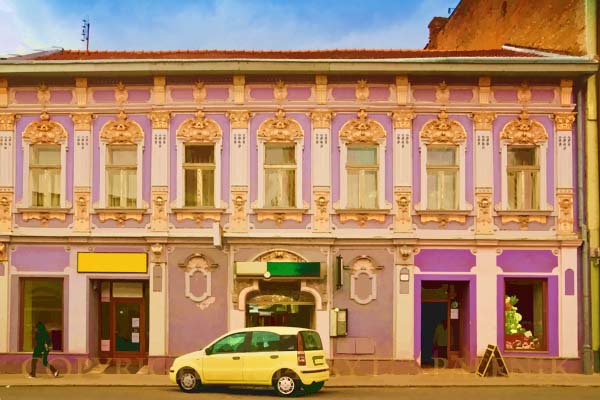
In the above examples, especially in the small size, some options look very similar, so make sure to click on them and view them in larger size. Another thing to consider, is that the individual painting styles will behave differently for different type of images, and on top of it, you can customize each style by changing the brush and light parameters, as well as the color saturation and contrast.
Since the original image still exists in the memory and sits below your new creation (when using the program in standalone version), you can create yet another painterly version by changing its opacity and blending mode (similar to Photoshop). When you use it as plugin in Photoshop, you can create separate layers for several Impression presets, and then use the blending modes and opacity slider in Photoshop. This option may be overlooked, but it offers interesting and powerful transformation possibilities.

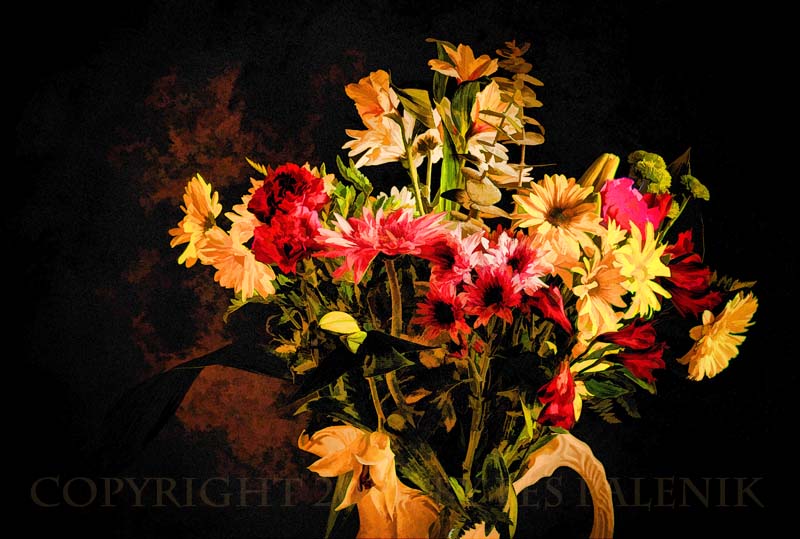
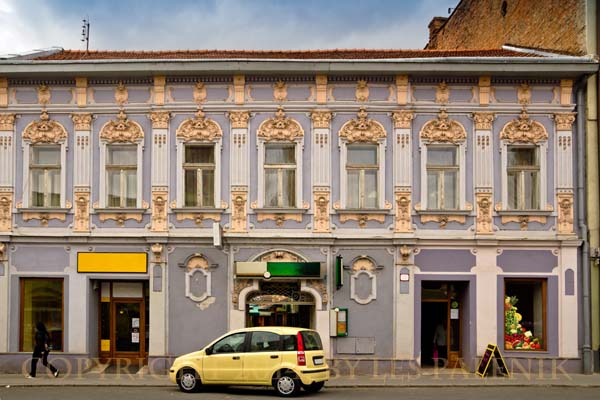
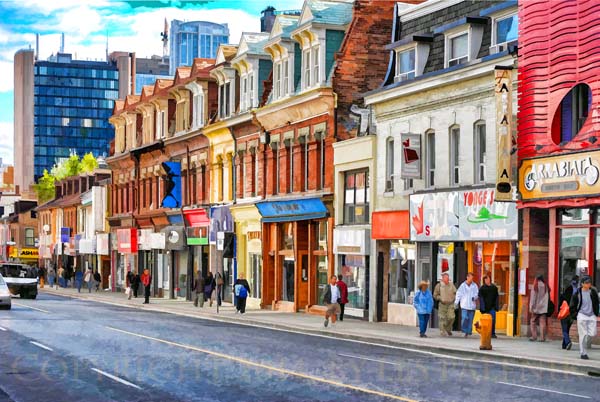
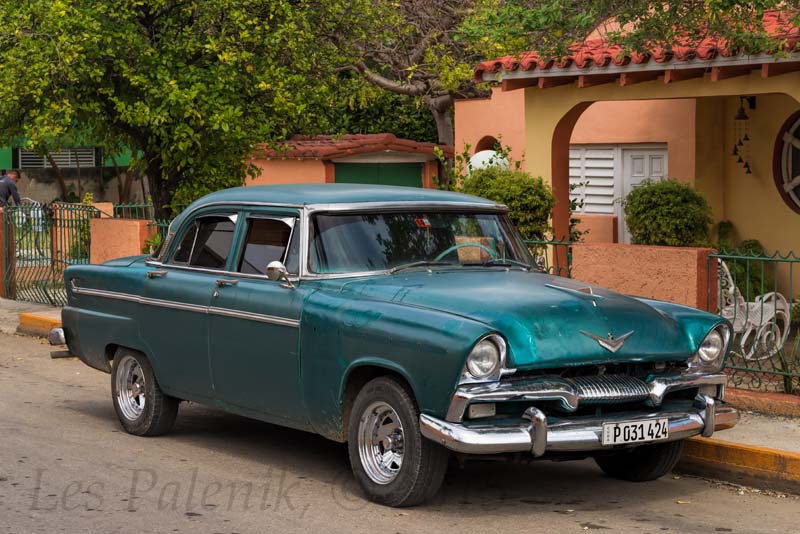
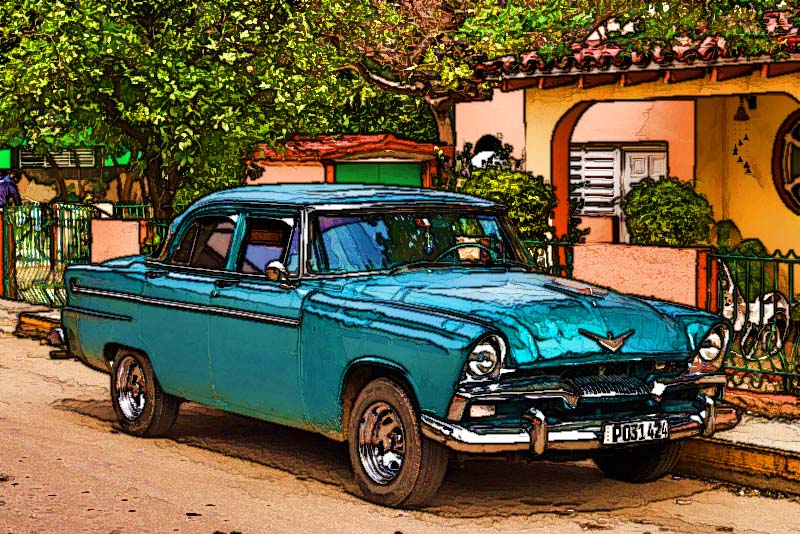
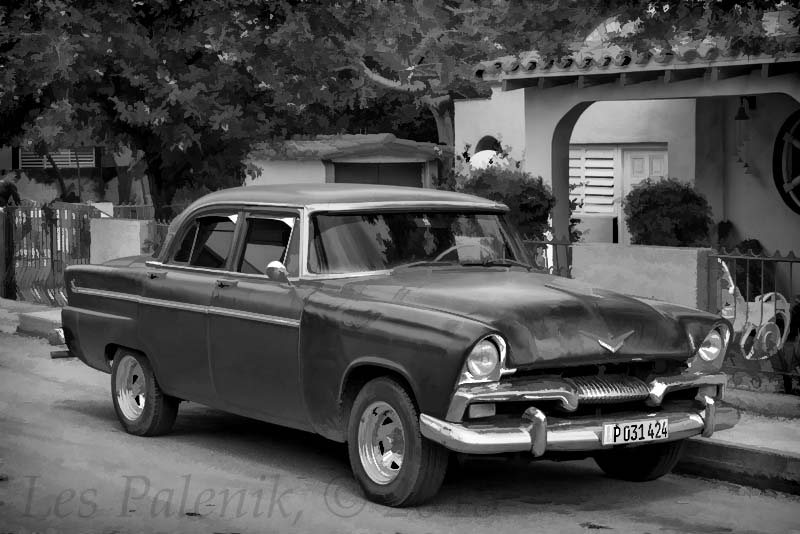
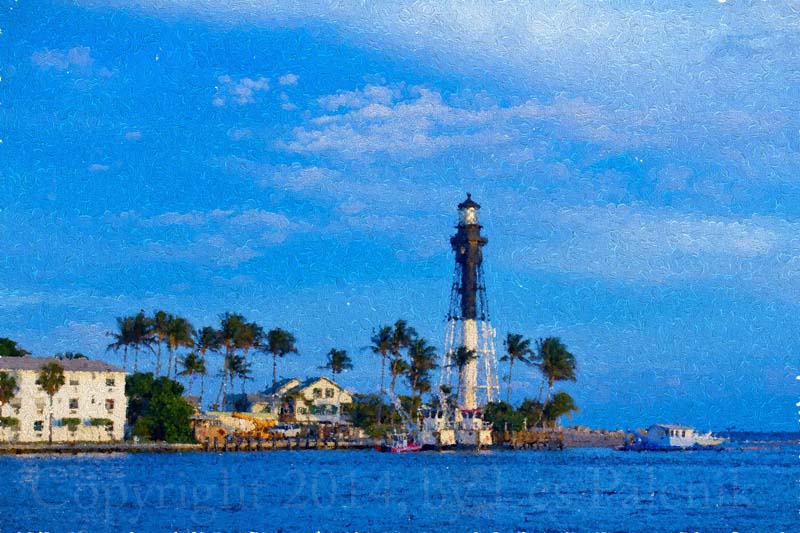
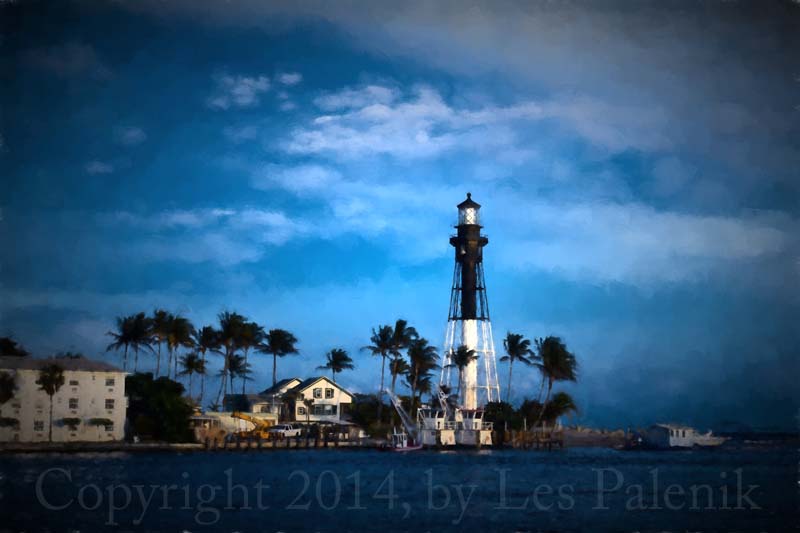
Here are a few more examples from my FineArtAmerica collection, demonstrating the renditions of Abstract, Oil Painting, Van Gogh, and Charcoal presets.

Topaz Impression is a 64-bit program and it should work on the current crop of Mac and Windows systems. You can download a trial version for free and use it for 30 days. Note that if your graphics card doesn’t support OpenGL 3.2 or later, you won’t be able to install the program. If you have OpenGL 3.1 or earlier, visit Intel’s Driver Download page and follow the instructions to manually identify your graphics card driver.
If you already own the Topaz Simplify program with the simple painting presets, you can compare the two programs and see for yourself how much the automated painting evolved in the new Impression program. It’s definitely worth the try!
To download the latest Topaz Impression, use the following link to enter the Topaz Labs website.
To purchase it, use the same link and a discount code “lespalenik” for 15% discount. This will work at anytime for any Topaz single plugin or a complete bundle.