Not to be confused with Adobe Lightroom and Camera Raw clarity sliders, this plugin is useful for increase of image’s levels of micro, midrange, and overall contrast. The effect is somewhat similar to NIK’s Tonal Contrast preset in their Color Efex Pro plugin, but Topaz Clarity has many more options, and it seems to be doing better job, when it comes to halos and noise.
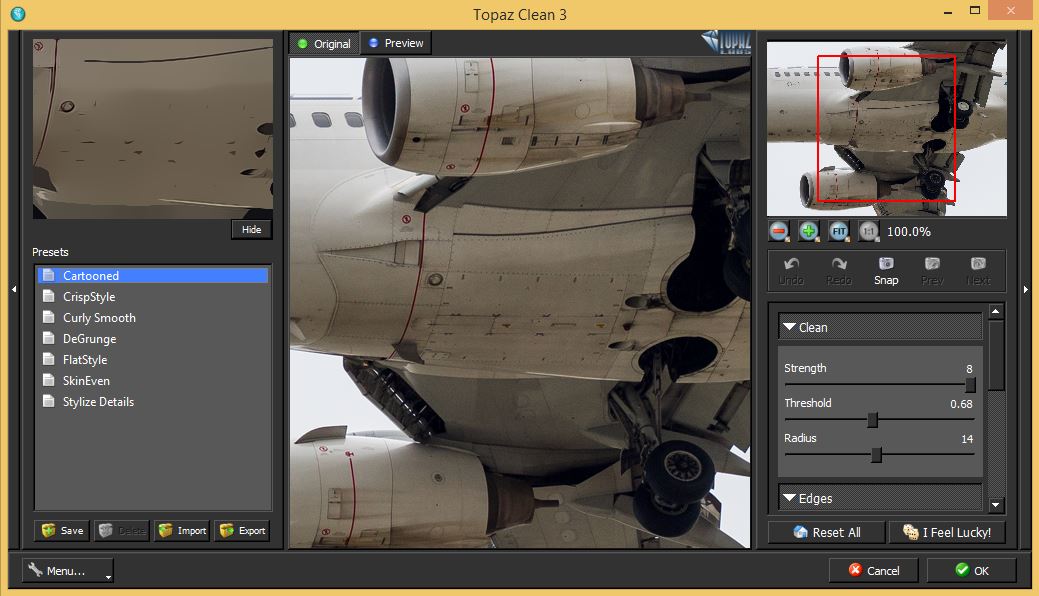
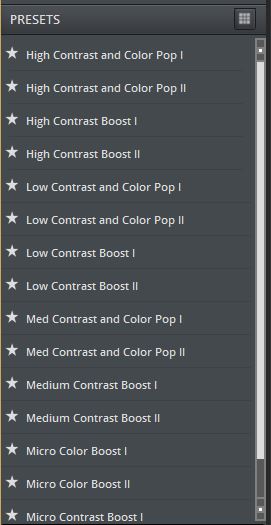
I have used it routinely for several months now in combination with Topaz Denoise, Adjust and Impression programs. There are over 100 presets available at your disposal, but I use just a few, and even then sometimes I dial them slightly back. If you like contrasty images, you will like this software.
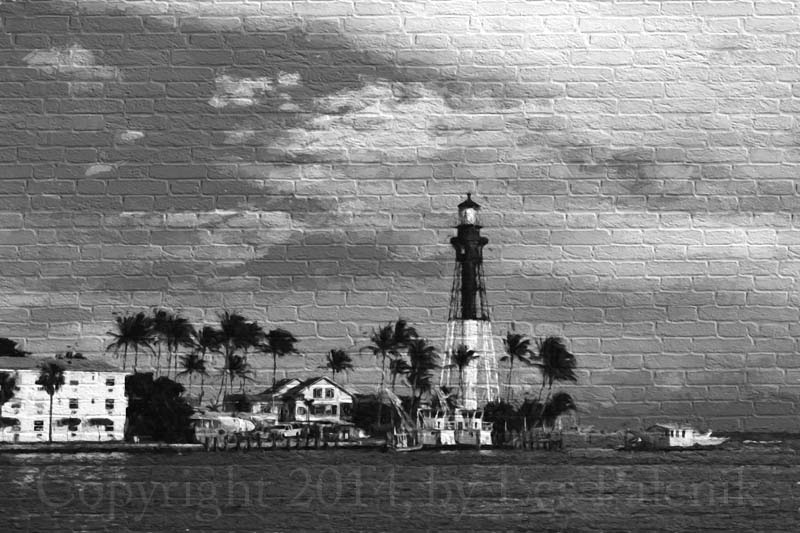
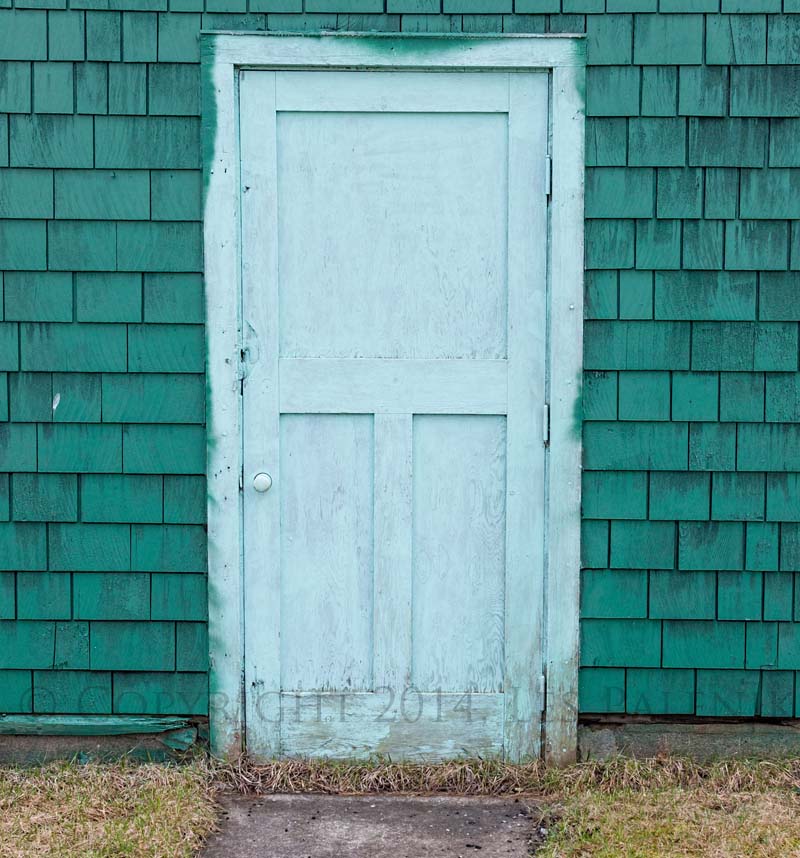
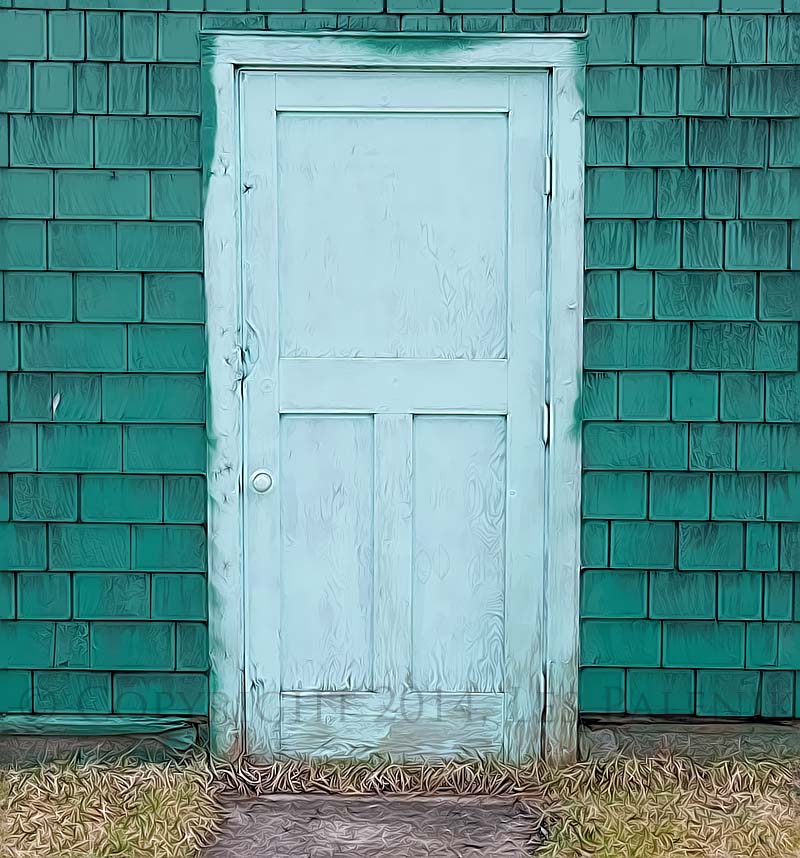
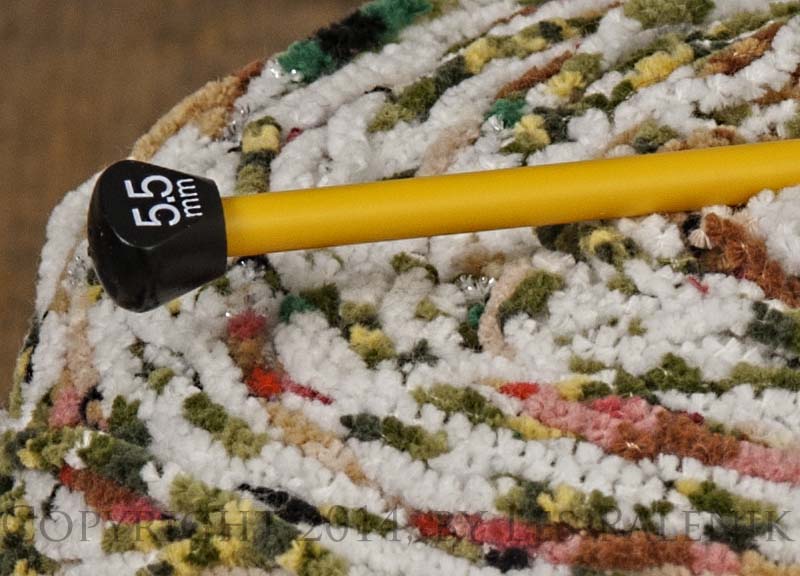
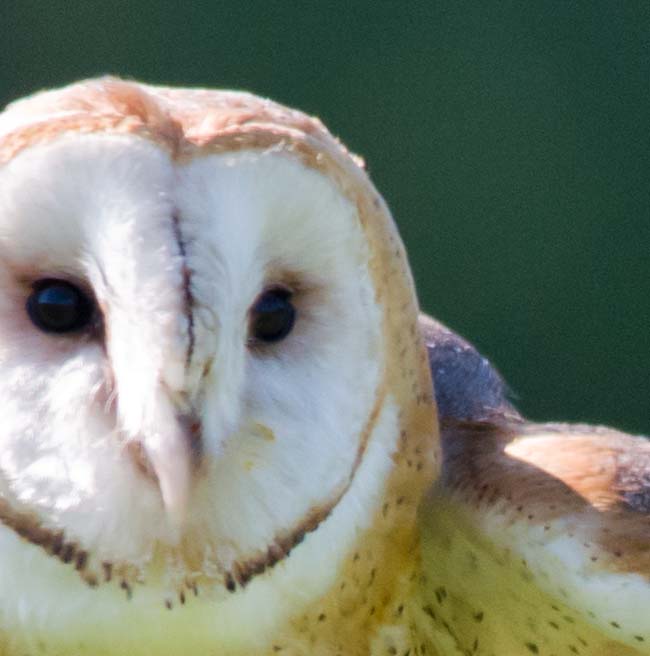
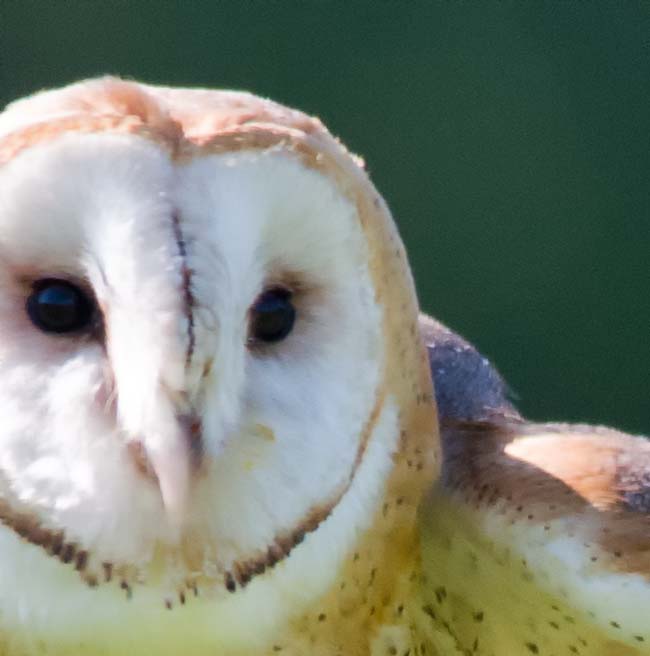
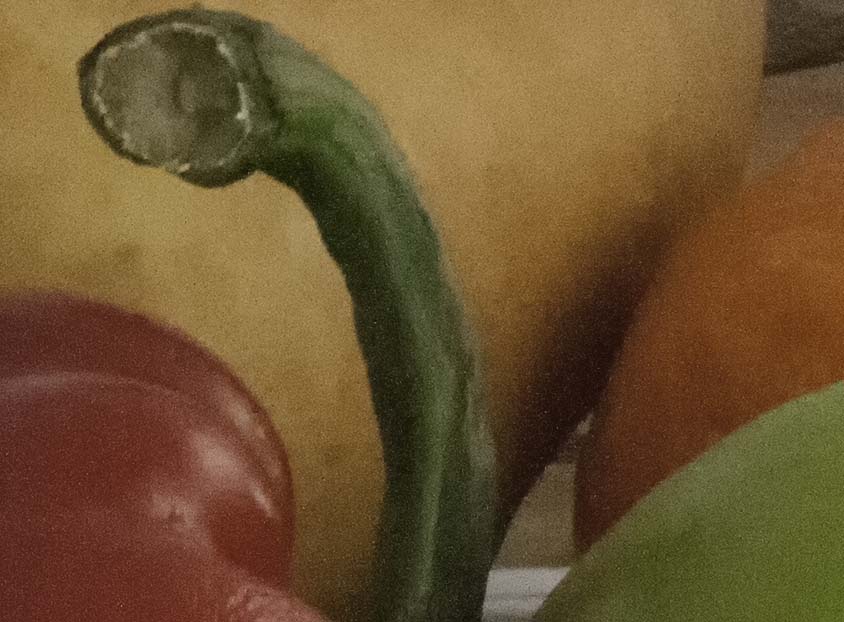
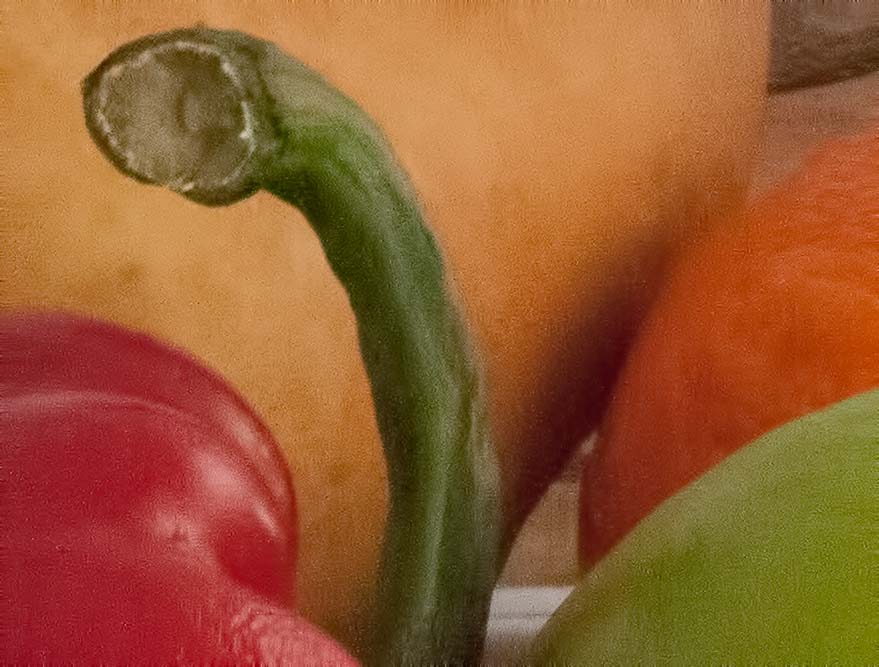
Usually, I run all my images through the Adobe Lightroom first, but in this case for the purpose of demonstration, I processed the image below just with Topaz Clarity program. The bottom image half is unmodified – exactly as it came out from the camera, while the top portion was processed with the Topaz Clarity “Color and Contrast Boost II” preset, and with some color saturation added (while in this preset). The resulting effect is quite dramatic – akin to a removal of obscuring plastic sheet.

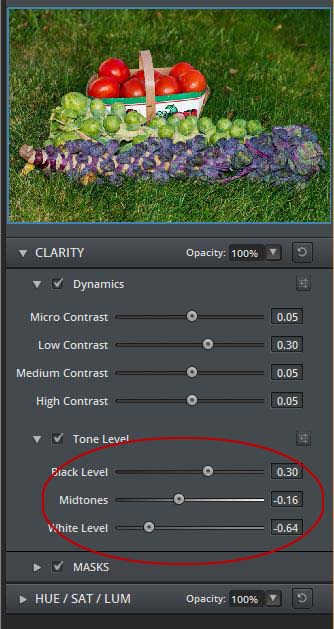
The second picture demonstrates the tonal adjustment capabilities of the program. This is a hidden gem in this program. If you just click on some of the presets (as we initially all do) without making any tonal adjustments, you are missing a lot of the Clarity’s potential.
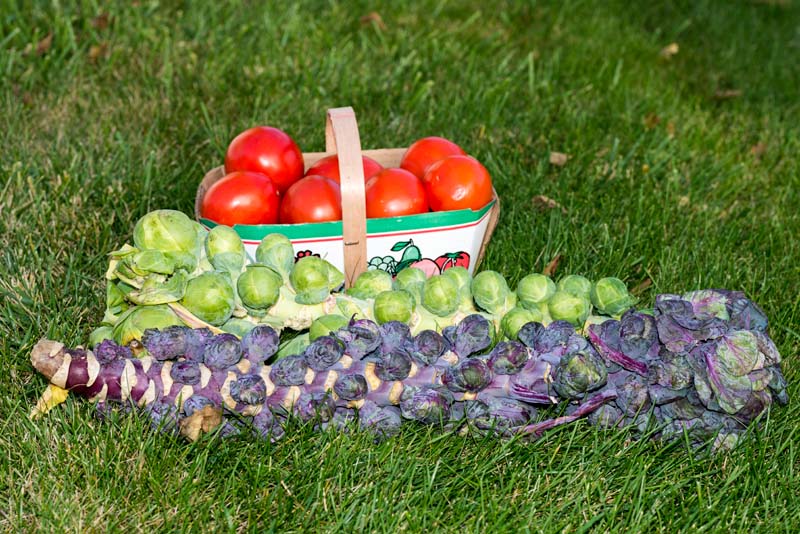
Recently, at the end of the day, barely catching the last rays of sun, I took a picture of two big stalks of Brussels sprouts on a grass patch, and because of the poor light, I used the camera flash to add some light to the vegetables on the grass. The flash helped to bring out the details in the little balls, but it made the center of the picture also too bright, and thus making the overall looking quite artificial.
So after taking it into Topaz Clarity, I applied a slight increase in the contrast and saturation (pop), and then I used the Tonal adjustments sliders to lighten the background and to darken the highlights in the middle.
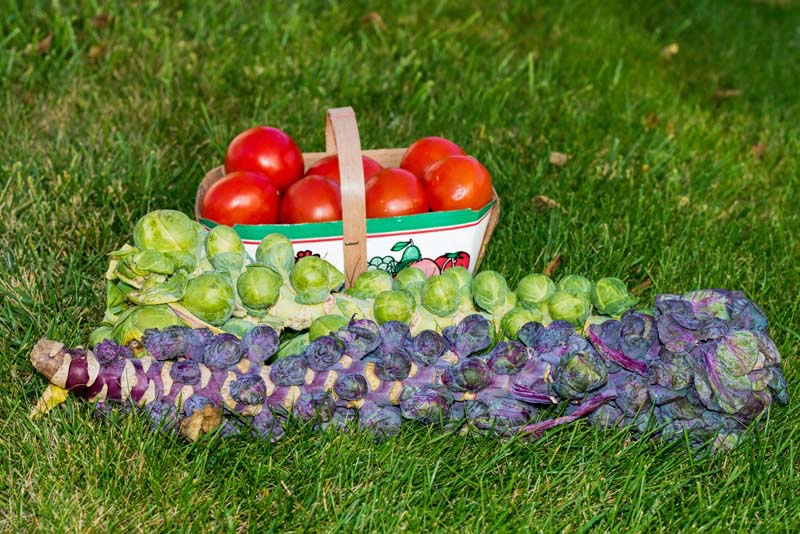
The next picture shows the “after” version with slightly darkened veggies, reduced hot spots on the tomatoes and softer shadows. Click on both versions to see it in more detail.
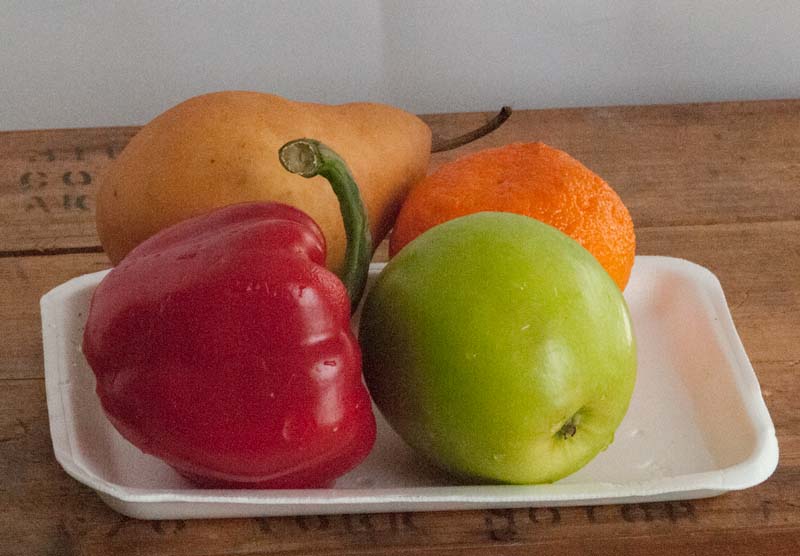
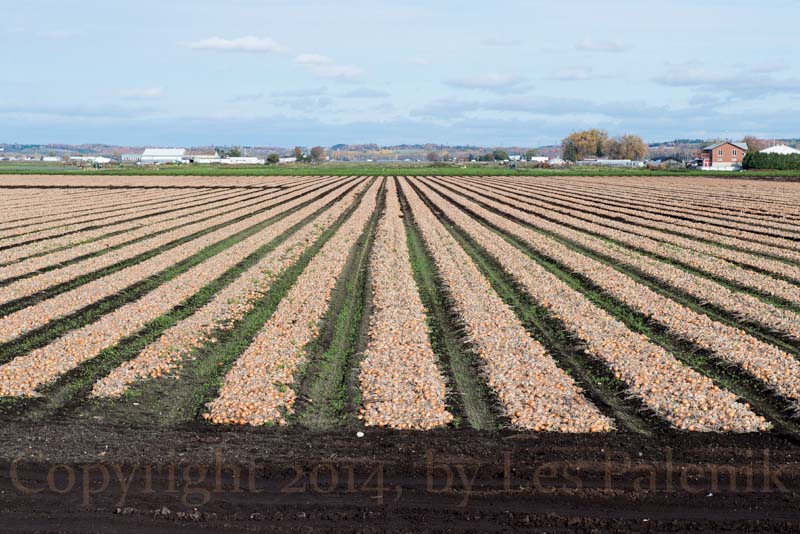
Here is one more harvest picture, this time from a large onion field:
This time, I processed the image first in Adobe Lightroom.
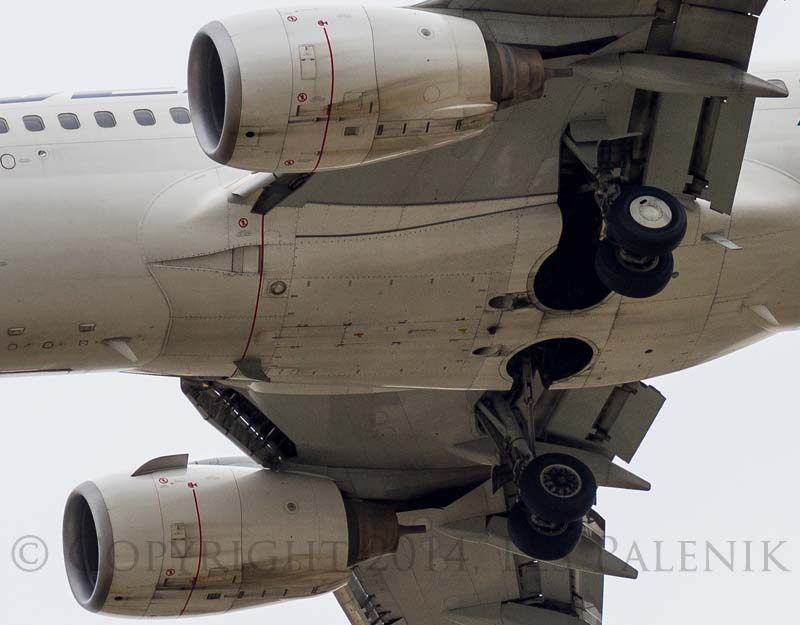
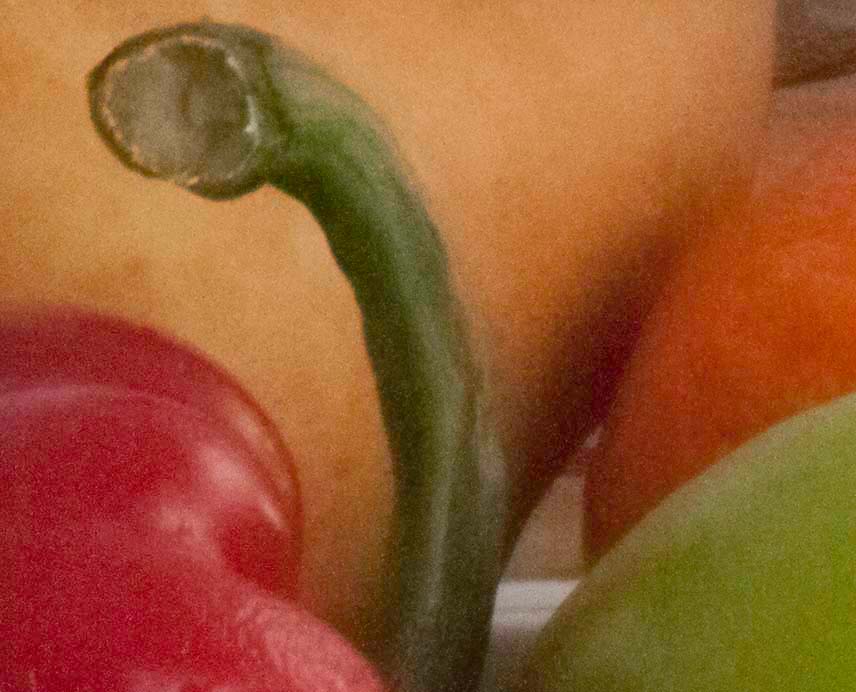
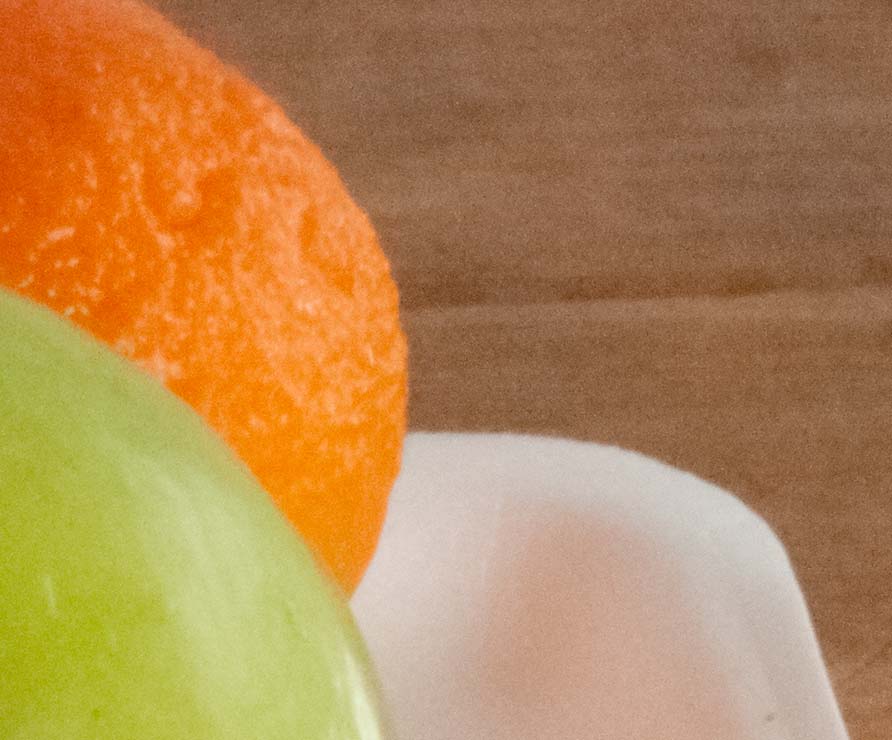
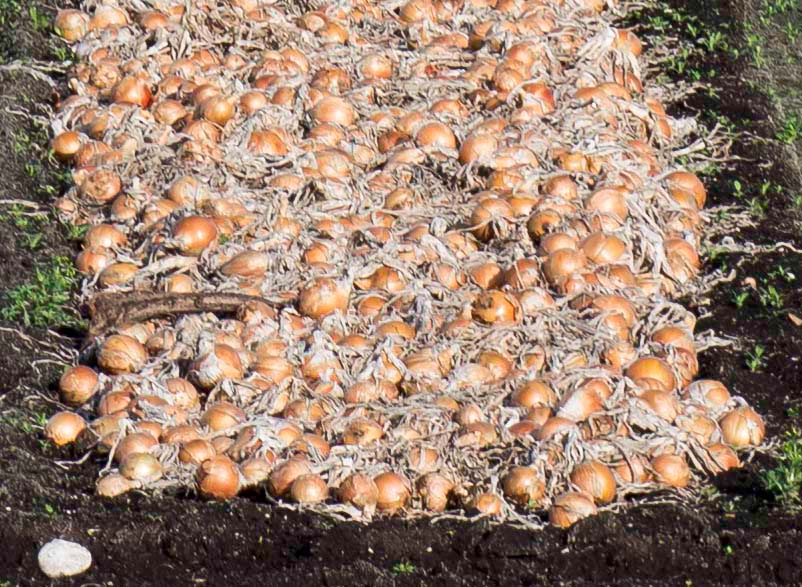
and a 100% crop from the central bottom section:
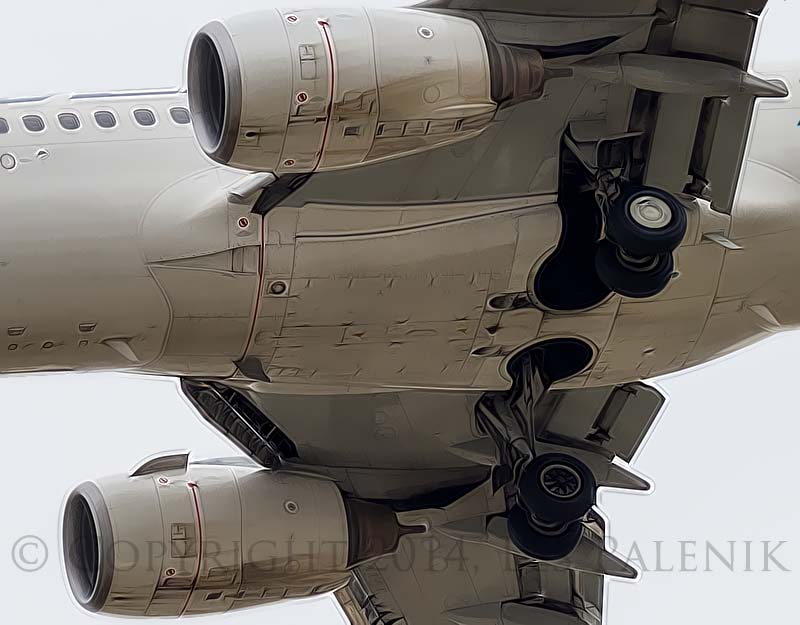
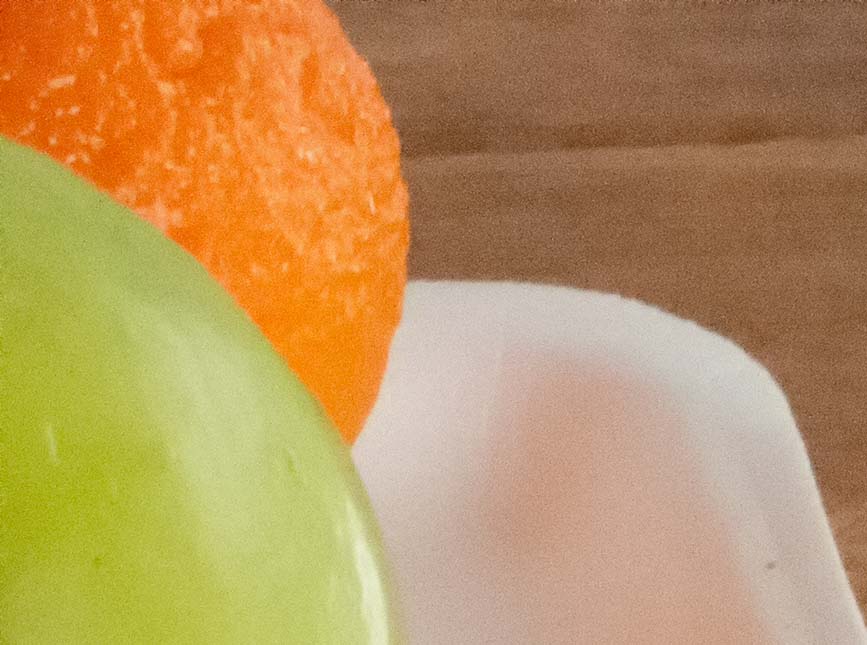
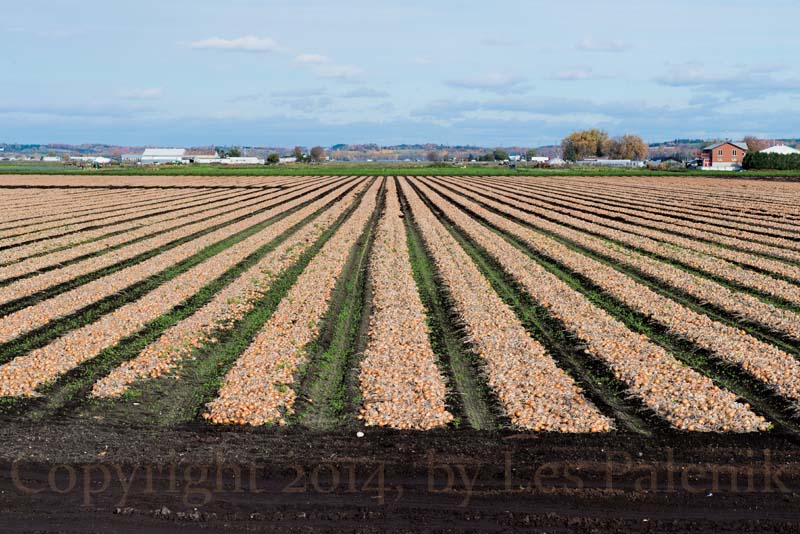
And then I ran it through Topaz Clarity, using the relatively subtle “Medium Contrast And Pop” preset (one click and done).
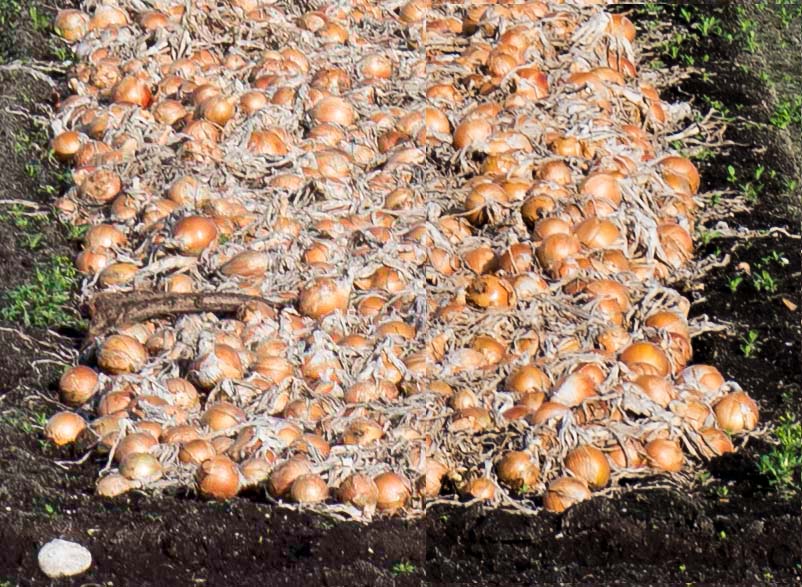
and a 100% crop from the central bottom section:

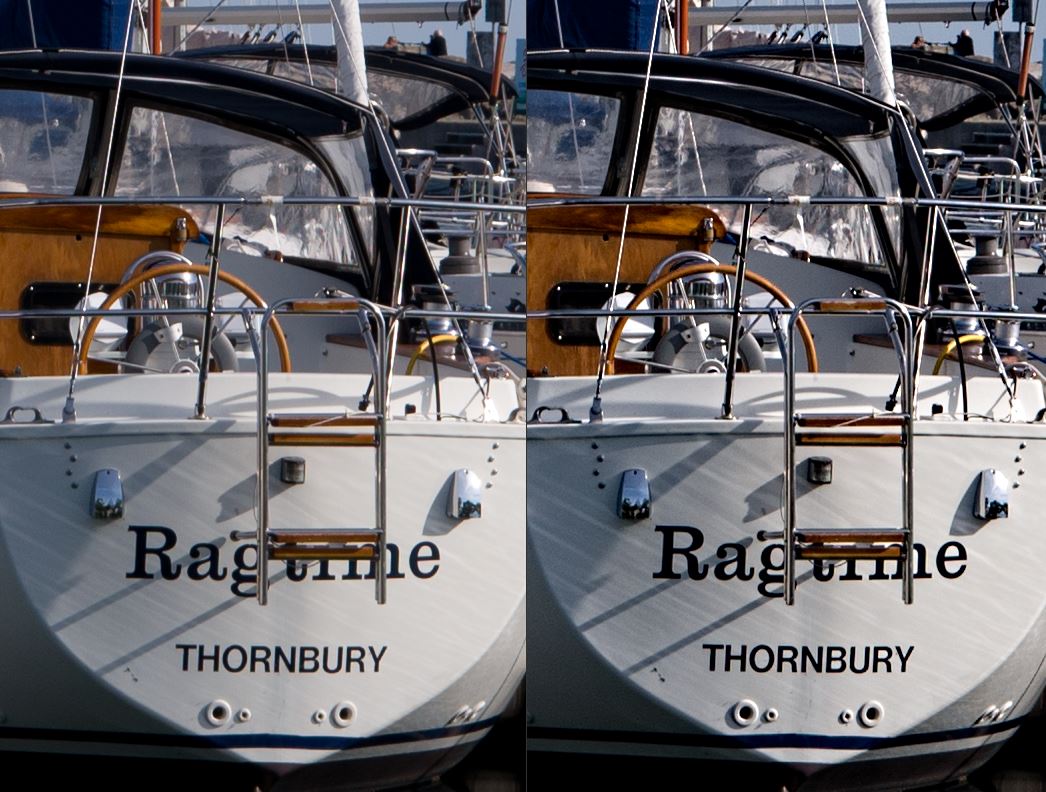
The last picture shows both versions side by side. Click on it to see it in more detail:
To download the latest Topaz Clarity program for a free 30 days trial, use the following link to enter the Topaz Labs website.
To purchase it, use the same link and a discount code “lespalenik” for 15% discount. This will work at anytime for any Topaz single plugin or a complete bundle.